I can never find things – partly because I don’t have a designated sewing space and partly because of little fingers (no not mine)…things in this place have legs it would seem.
I have trouble locating scissors in a hurry because well quite frankly there only seems to be 1 or 2 people who put things away properly when they’ve finished with them…
So I decided that I was going to make a BIG scissors keeper and turn it into a tutorial of sorts. I’m sure there are plenty out there in blogland but here goes.
What you need : scraps of fabric, batting, filling, DMC thread and general sewing supplies.
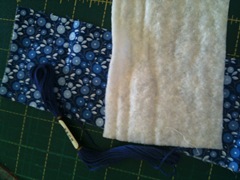
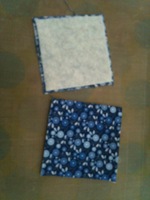
Cut to the size you want – I cut mine 3” square for a big one but I have also made them smaller, cut at 1 1/2”. Cut your batting slightly smaller and quilt as desired – I did 2 different styles, diagonals and lines to make squares.
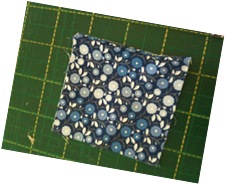
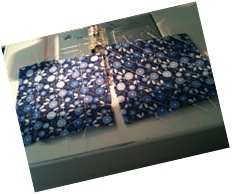
Next is the fun part and you will fins it easier if you have a second part of hands to help you. Cut your DMC thread 4 times the desired finished length – remembering that it will be looped. One you’ve cut it, fold in half and then in half again so you end up with 4 lengths all together.
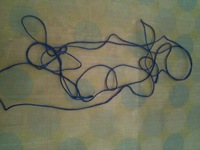
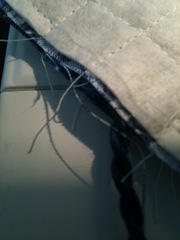
You are now going to twist – this is where extra hands are ‘handy’ You need to twist the thread in opposite directions – if one person turns to the left at their end, then you turn to the left at your end and you end up with this:
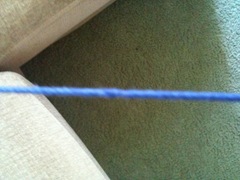
Sorry its a bad photo but you get the idea of the way the thread twists on itself. You now need to carefully fold the length of thread in half again without letting go of the ends.
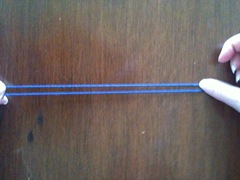
Now for the fun part, let go of the loop end or the folded part and watch it spring and twist on itself.
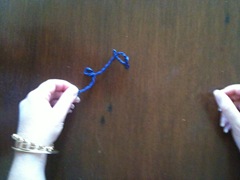
You will need to straighten it out a little and get ready to sew it together.
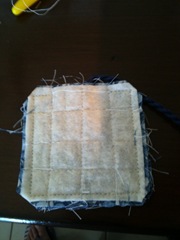
Make sure when you put the right sides of your fabric squares together that you put the twisted thread inside the two pieces and the ends poking out to get caught in the seam. Also make sure you leave a gap open at the bottom so you can turn it right side out.
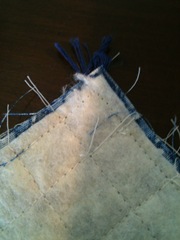
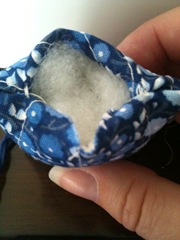
Trim the four corners and turn out, fill with stuffing and hand stitch closed.

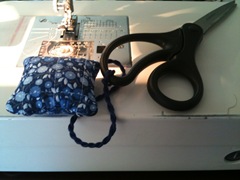
Then you can put it on your scissors and hopefully be able to find them without looking too hard – or for too long!

thankyou so much Claire for the tutorial.xx
ReplyDeletea great tutorial Claire....will have to link it to the birthday stash list for February...is that ok??? Great idea for quilt group too when people have the same scissors.....can't get away with 'pinching' yours!!!! LOL
ReplyDeletexox sugary hugs
wendy :O)
Fantastic Claire. Great idea hope you never lose the scissors
ReplyDeleteThat is such a great tutorial...thanks Claire
ReplyDelete